Create a check-in point with littleBits
Intro
Cloudbit is a LittleBits module that let’s you connect your LittleBits circuit with web services. This can be done via IFTTT, via the Cloud Control App or via the LittleBits API. Using IFTTT, you can connect to the CloutBit to control services like Twitter and Google Drive without needing to write any code.
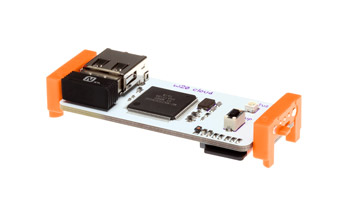
In this example, we’re going to create a notification checkin that will let people check-in at a particular location using CloudBit and IFTTT. When someone checks-in at the CloudBit location, you’ll receive an email notification.
What you need
- LittleBits CloudBit Kit and pressure sensor module.
- IFTTT Account
How
If this is the first time you have used your CloudBit, you need to first connect it to your wifi network via the Cloud Control. Go to the Cloud Control at http://control.littlebitscloud.cc and follow the instructions to connect to your network.
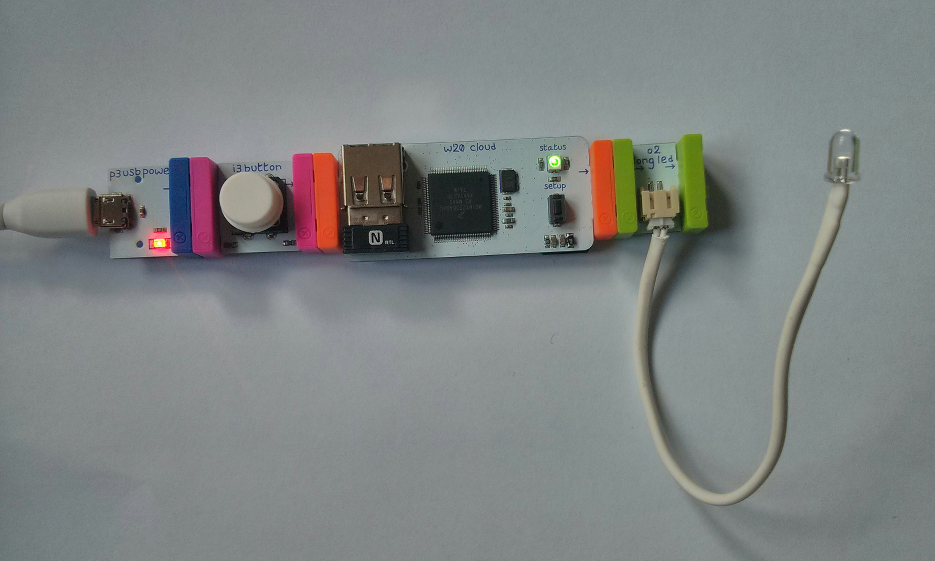
To test whether your CloudBit is correctly connected to the network, you need to set up a basic circuit. Put together the circuit by connecting the LittleBit power module (USB connected to the wall) to the CloudBit connector module. Connect this to a light output.
Your basic CloudBit circuit should look like this:
Log in to IFTTT and click on create recipe

First, we need to add a data source. This is the ‘this’ in the ifthisthenthat recipe.
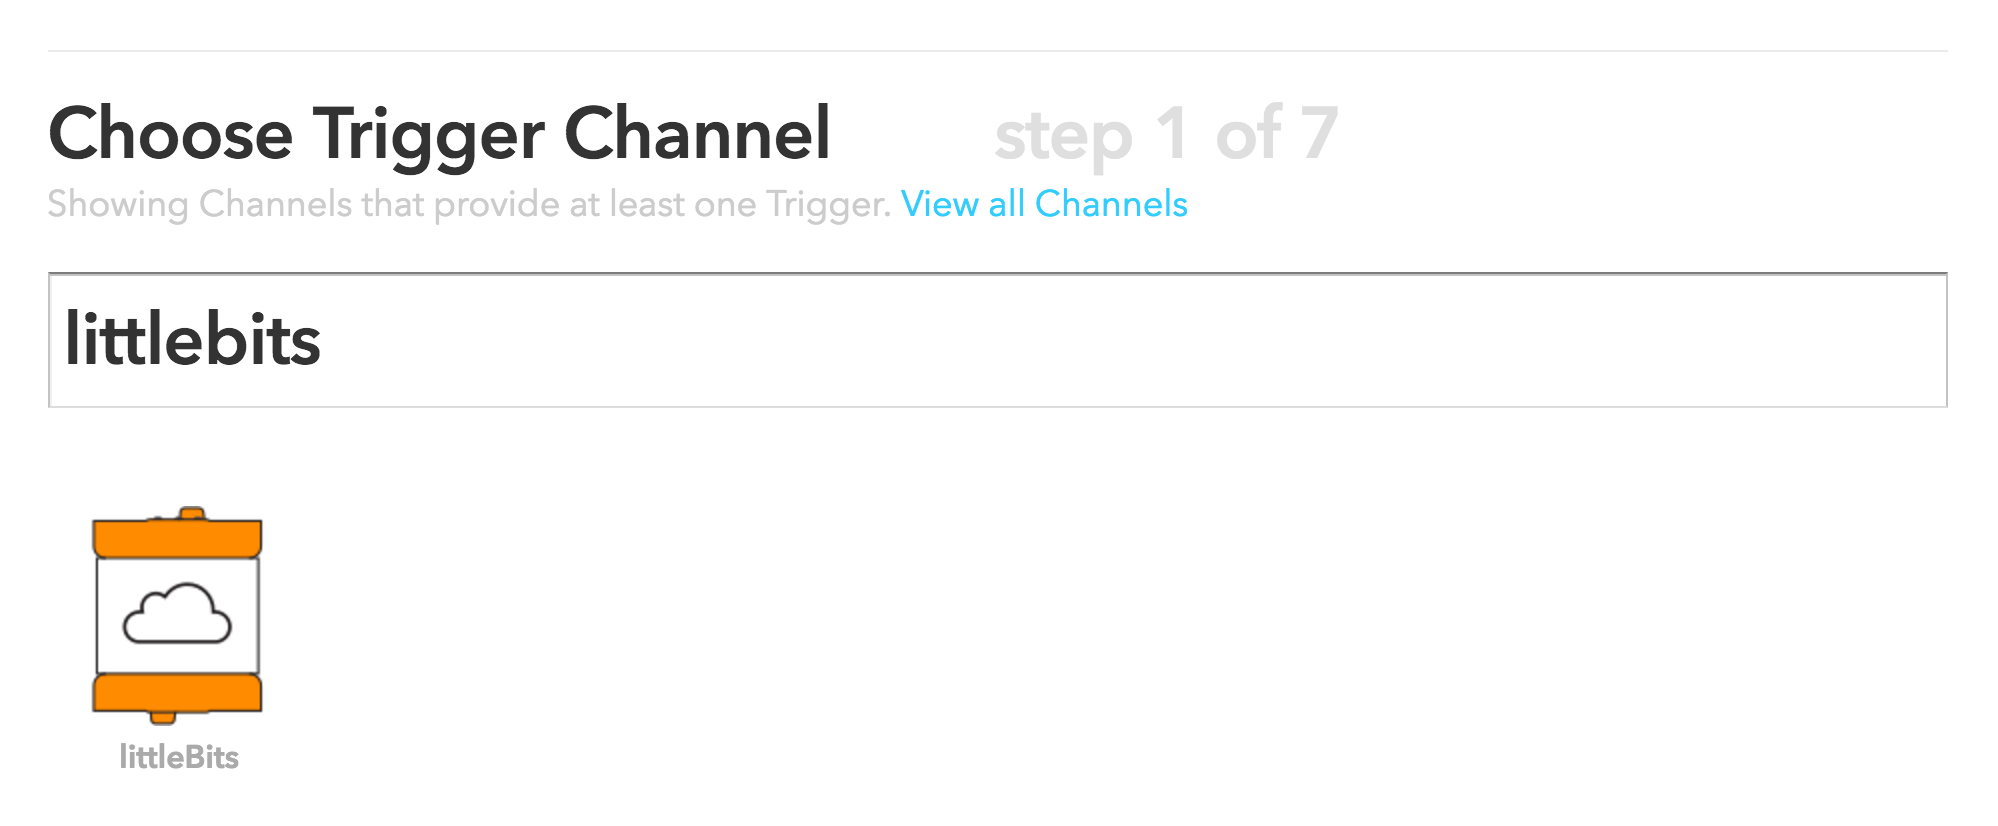
Click on this and search for ‘Littlebits’ and connect to the channel.
In the next step, select your CloudBit module from the dropdown list and click the Create Trigger button.
Now, click that to set the action for your recipe.
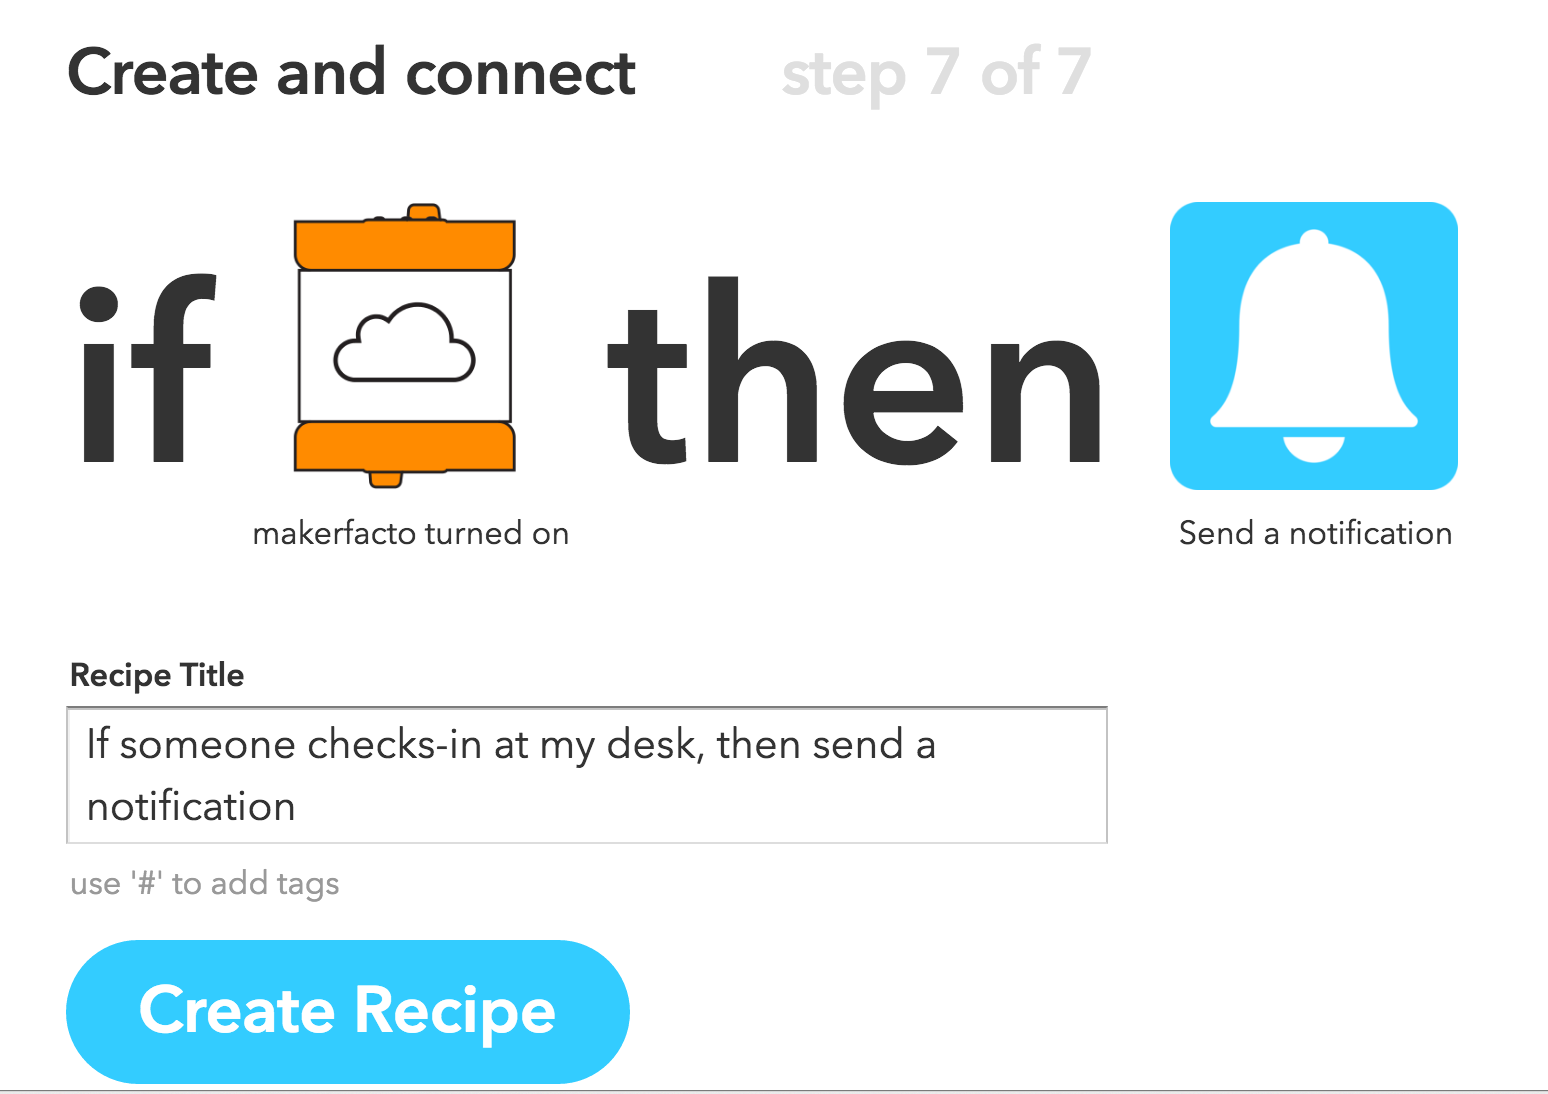
We want it to trigger when our module is on. We’re using the Pressure sensor module so this will be when someone touches the pressure sensor.
Our notification can be sent by SMS, email or push notification. This can depend on the type of phone you use or how you’d like to receive notifications. In this case, we’ll use the gMail notifier action.
Now, complete the action fields by setting the text of your notification. Make sure it’s something meaningful. e.g. ‘’ someone is waiting at myLocation.
Give your recipe a name and click ‘Create Recipe’.
Now you can create a LittleBits circuit with a touch sensor and put it at your check-in point. Add a sign for your check-in device to make it nice and clear.
When someone touches the sensor, you will be notified by email.
Subscribe
Subscribe to this blog via RSS.
Categories
Question 1
Ingredients 21
Recipes 26
Recent Posts
-
 Posted on 24 Jul 2017
-
 Posted on 20 Jun 2017
-
 Posted on 15 Jun 2017
-
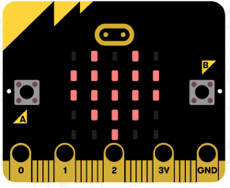
Getting started with JavaScript Blocks Editor (PXT) on Micro:Bit
Posted on 10 May 2017
Popular Tags
Arduino (2) Microcontrollers (2) Makeymakey (6) Scratch (8) Coding (6) Software (3) Sketches (1) Ide (1) Raspberrypi (11) Linux (2) 3dprinting (1) Manufacturing (1) Vr (1) Virtual_reality (1) Google (1) Circuits (3) Littlebits (4) Kits (2) Keyboard (2) Inputs (1) Cli (1) Command-line (1) Magazine (1) Make (2) Events (4) Makerfaire (1) Wires (2) Equipment (2) Breadboard (1) Electronics (3) Audio (1) Soundplant (2) Planning (2) Funding (1) Ozobot (1) Creative-computing (1) Music (3) Sonicpi (3) Cloudbit (2) Thimble (1) Images (1) Html (2) Webmakers (2) Internet (1) Ifttt (1) Sensors (2) Css (1) Learntocode (4) Paint (1) Conductivity (2) Picoboard (2) Activities (1) Workshops (3) Families (1) Microbit (4) Javascript (2) Paper (1) Electricity (1) Display (1) Browser (1) Remote (1) Headless (1) Signage (2) Digital signage (2) Privacy (1) Security (1) Configuration (1) Tools (1) Troubleshooting (1) Bugs (1) Problem-based learning (1) Hex (1) Programs (1) Onboarding (1)